From start to your first project.
Installation done? Then start here. You set up your first Workspace and get to know the most important areas of the app.
Orientation
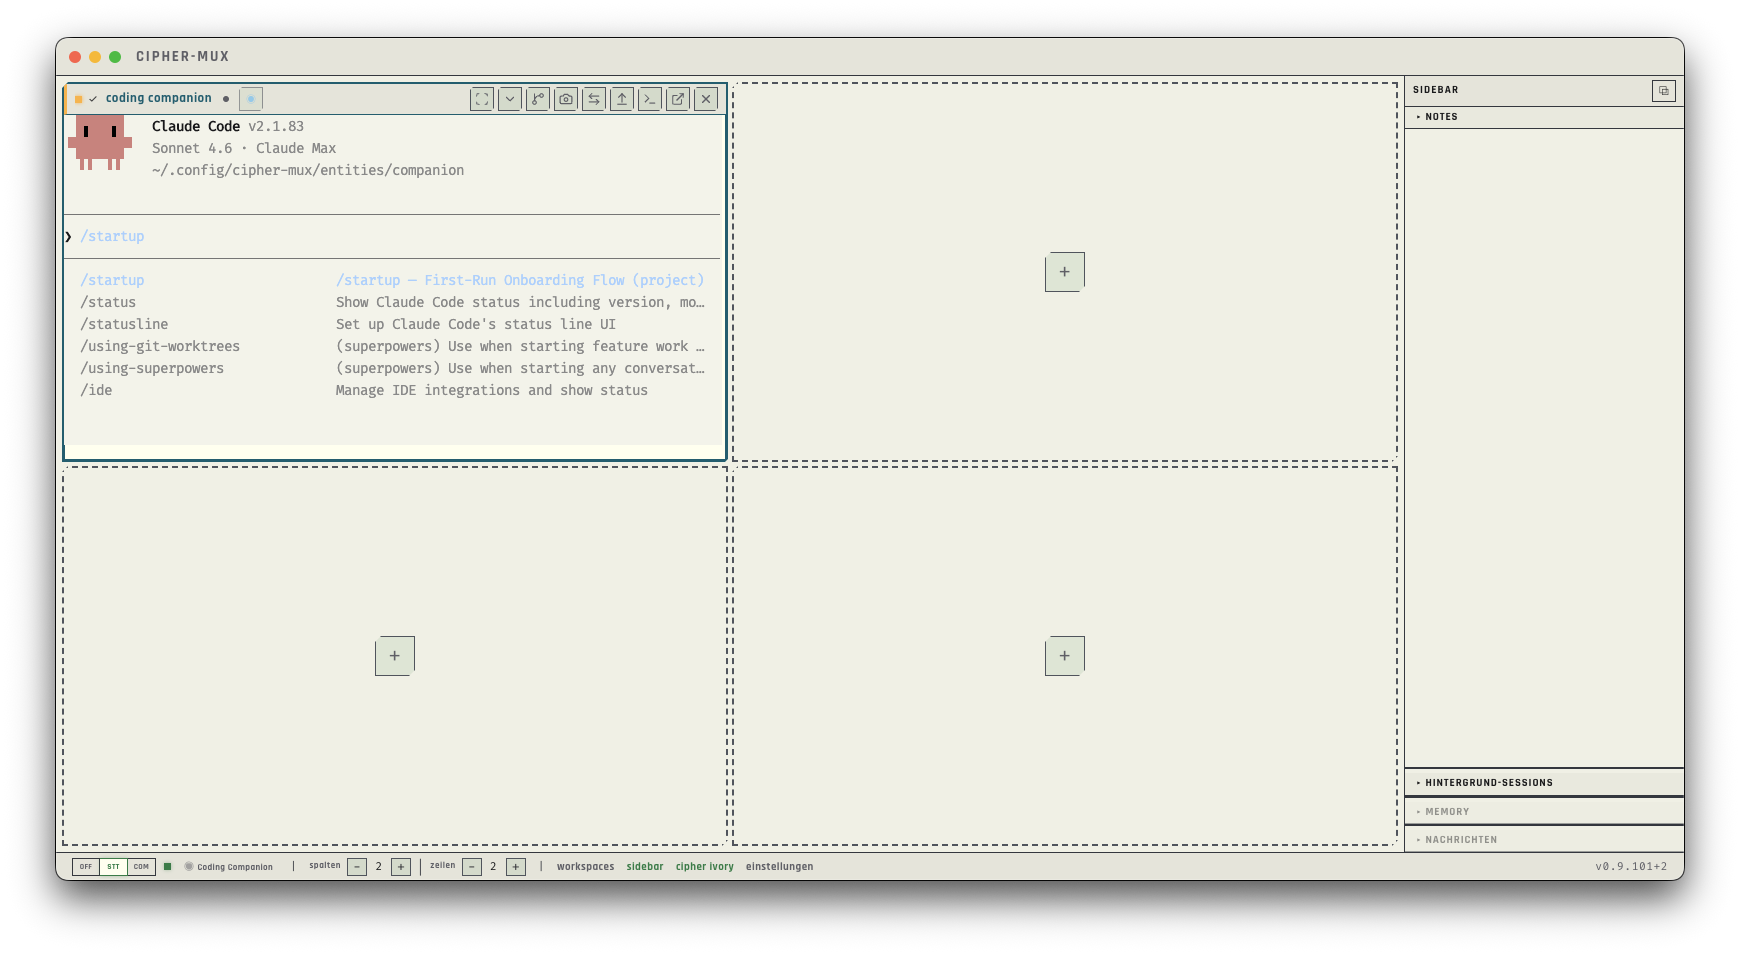
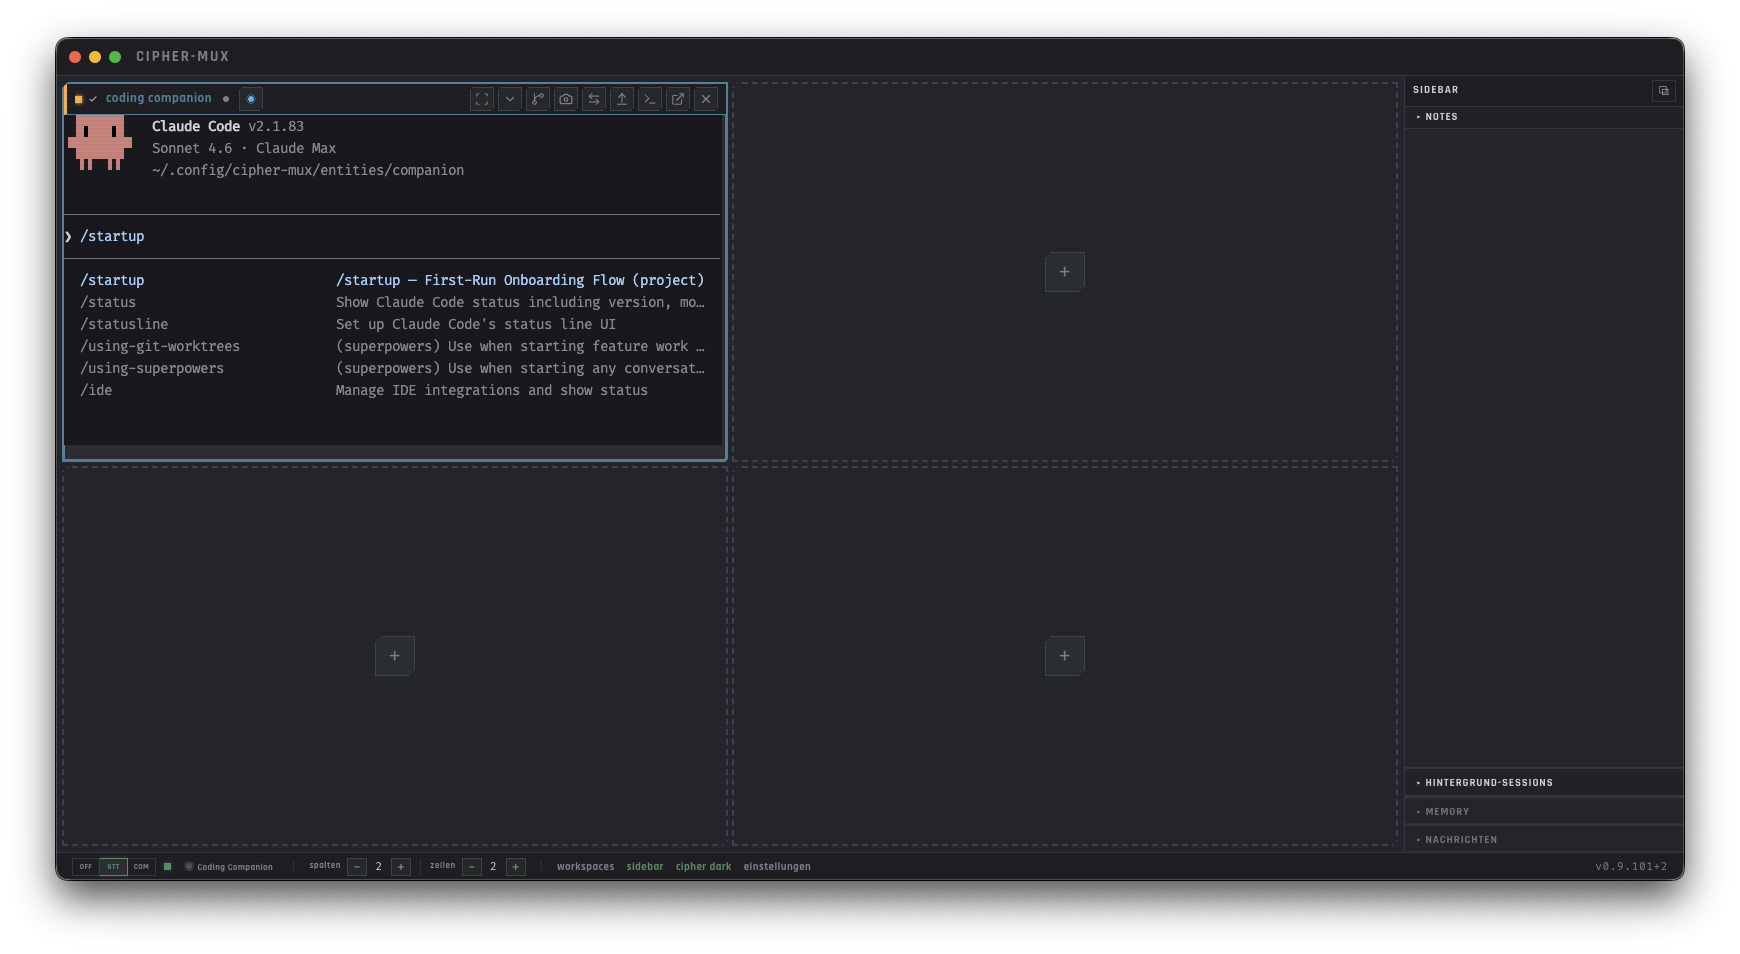
When you open cipher-mux, you see the Grid — the central work area. Empty cells show a +, the status bar sits along the bottom edge. That is all.
- ›Installation and first-time setup are described in detail on the download page.
- ›On the very first launch, the Companion takes the first cell. Type /startup — it asks about your background and creates a profile. From then on, every Entity adjusts its level of detail to your level.
- ›The Companion can also explain everything that is written on these pages. Instead of searching here, ask it.
Create a Workspace
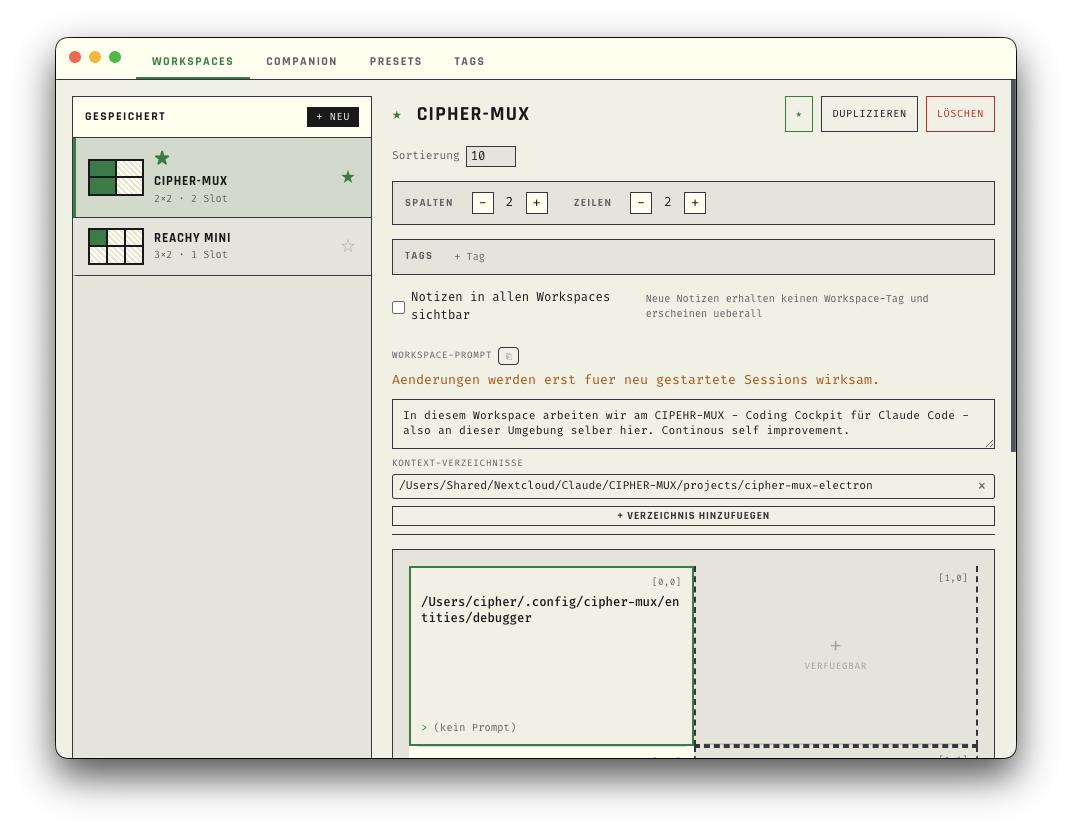
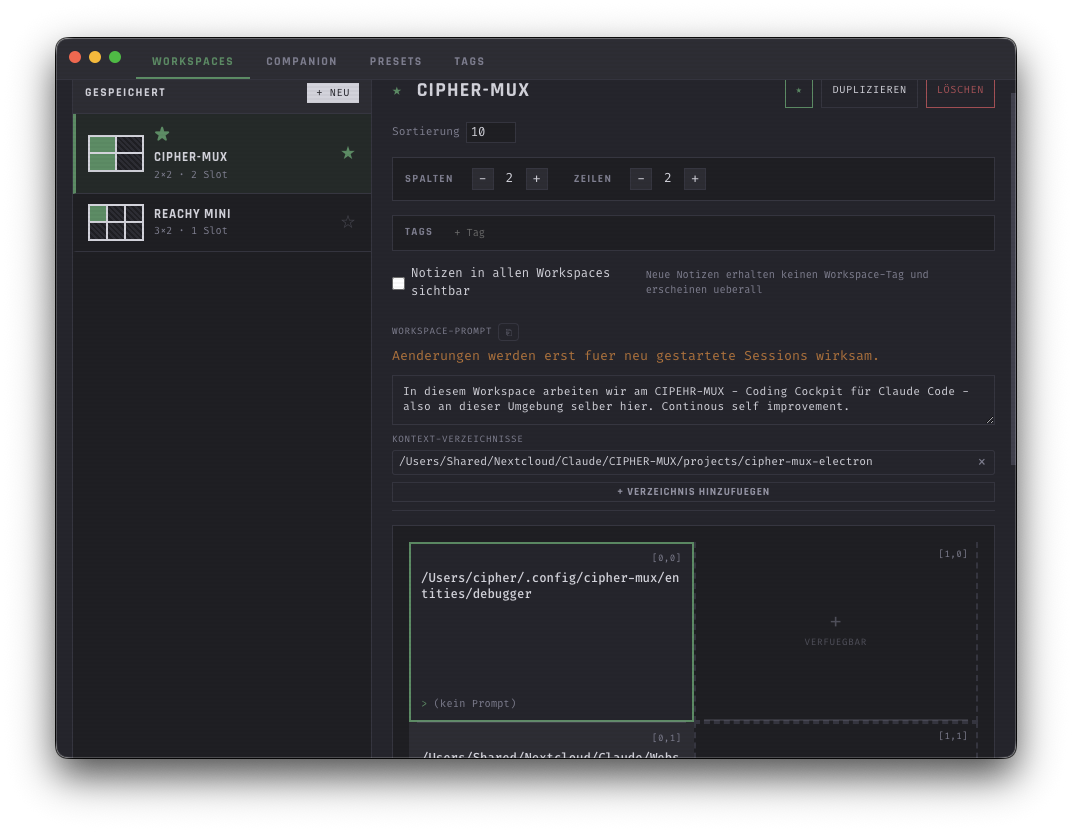
A Workspace bundles everything for one project: grid layout, Preset assignments, project directory, Workspace prompt. When you load a Workspace, every Session immediately knows what is being worked on.
Step by step
- ▹Click workspaces in the status bar — the Workspace editor opens.
- ▹Create a new Workspace and name it (e.g. "My Project").
- ▹Add a Workspace prompt — a few sentences about your project are enough: what it is, which language/framework, what is coming up next.
- ▹If you already have a project folder: add it as a Context Directory. If not, add it later once it exists.
- ▹Set the grid size (e.g. 2x1 to start with) and optionally assign Presets.
- ▹Save. Mark it as the default if you want.
Start Sessions
With a Workspace set up, you can start Sessions. Two ways:
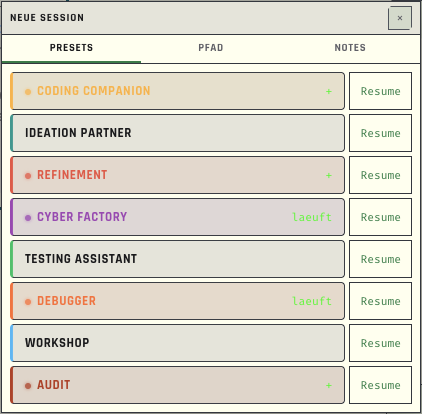
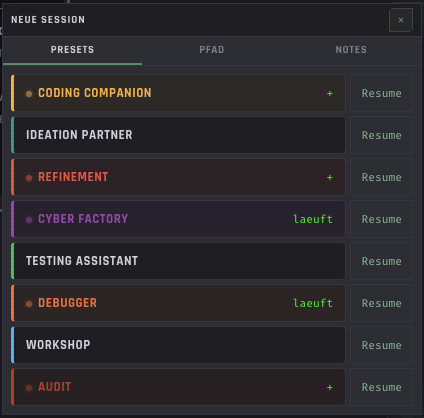
- ▹Click + in an empty cell → Presets tab
- ▹Pick a Preset (Companion, Refinement, Cyber Factory, ...)
- ▹The Session starts with the Workspace context + the Preset instructions
- ▹Click + → Path tab
- ▹Pick a project folder — a CLI session without a Preset
- ▹Pick a Workspace (default: none) — the session then learns the workspace's name, projects and context folders
- ▹Pick a CLI (default: the one from Settings) — Claude Code, Codex or opencode
Options
The App at a Glance
Before you go deeper — where do you find what? A quick tour of the interface.
Try Voice
Voice control runs entirely local via Whisper. No network, no cloud.
- ▹Click the voice pill in the status bar — the LED turns green (ready).
- ▹Press the STT button — the LED turns red (recording).
- ▹Speak. When you are done, say "submit" — the text is inserted into the focused cell.
- ▹The text is inserted but not sent automatically. You can review and edit it before you press Enter.
Next
You have seen the essentials. Two ways to read on:
Ready? The Companion is waiting.
Start cipher-mux, open the Companion, and tell it what you have in mind. You work out the rest together.