Every function. Look it up.
The complete reference to every area of the app — grid, sessions, sidebar, voice, notes, settings. Made to look things up in, not to read front to back.
The Grid
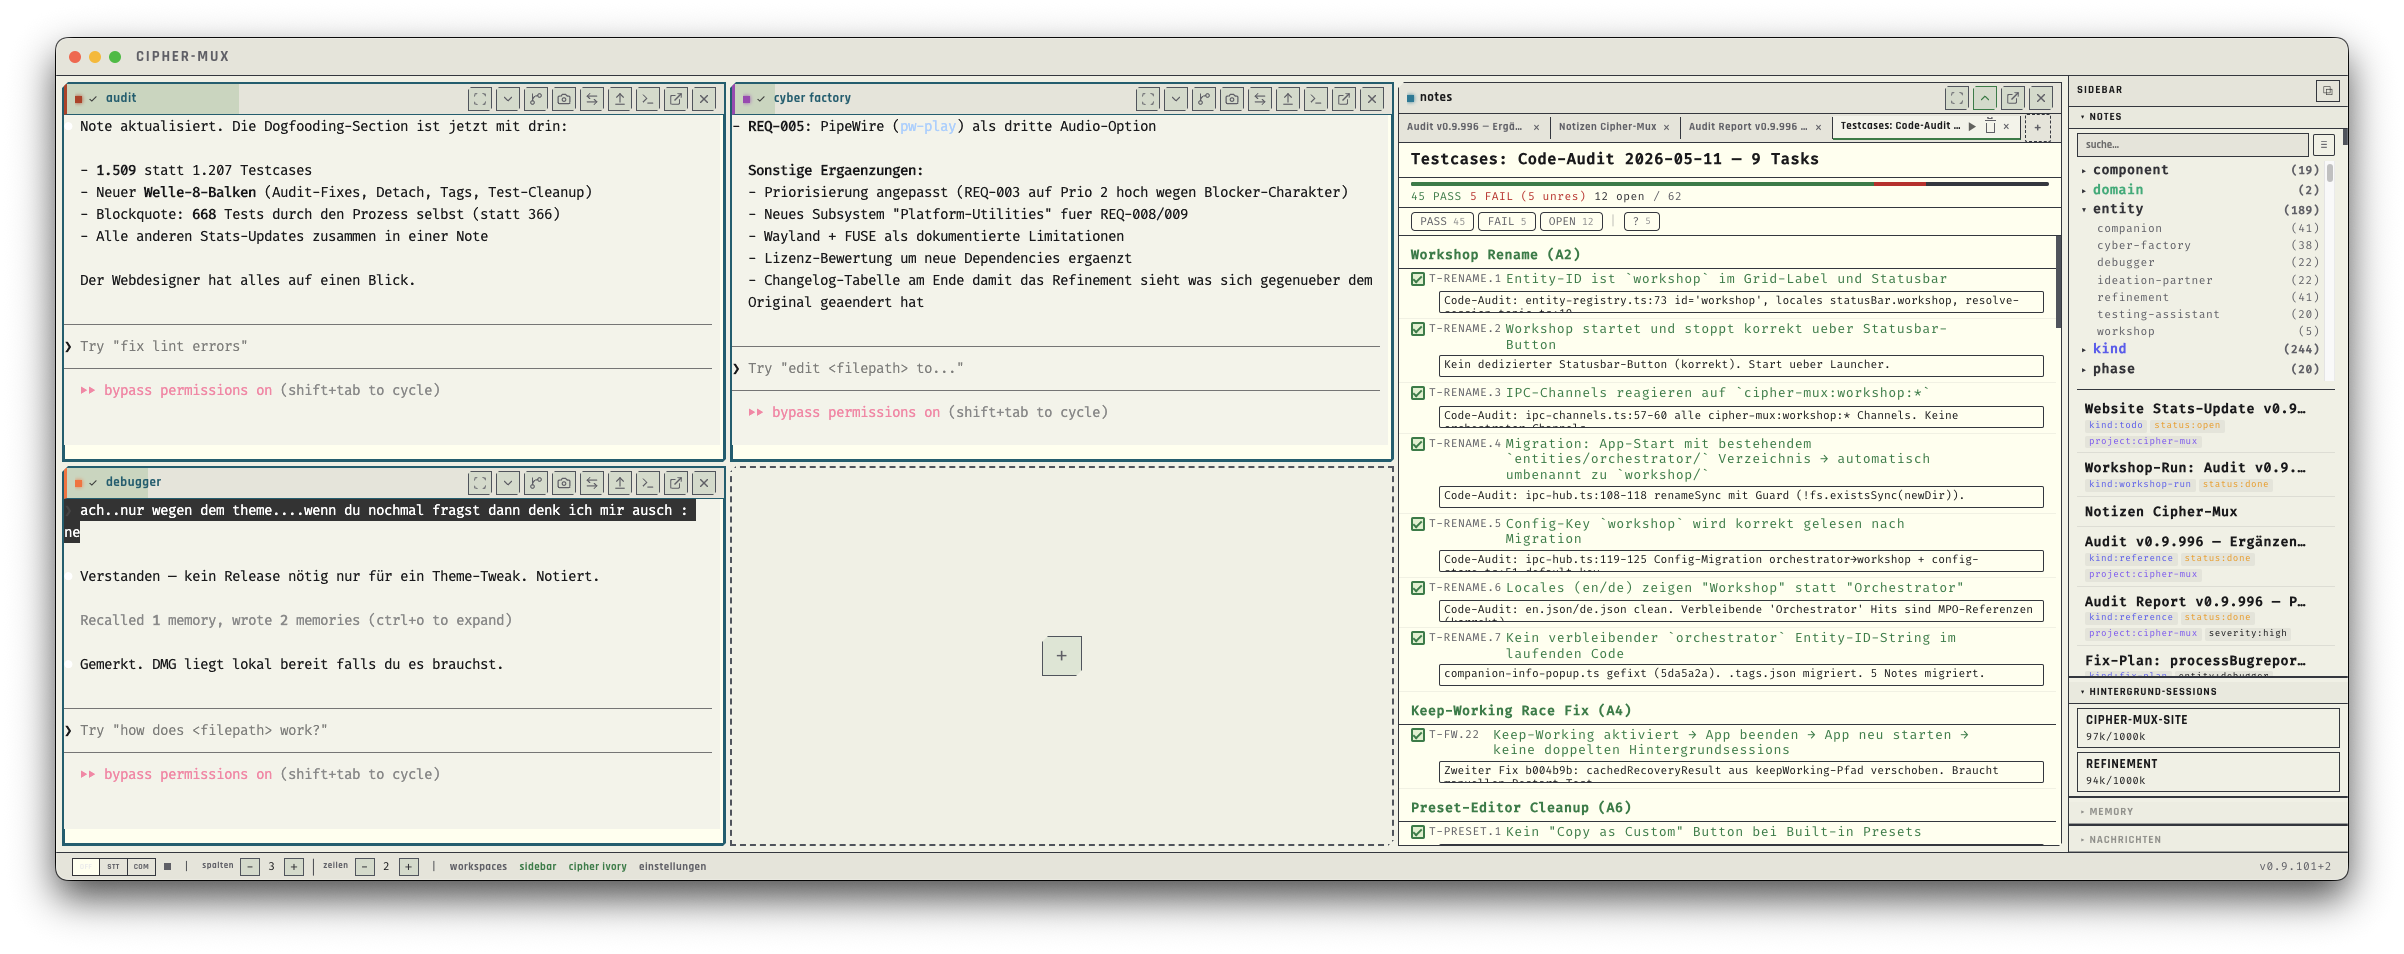
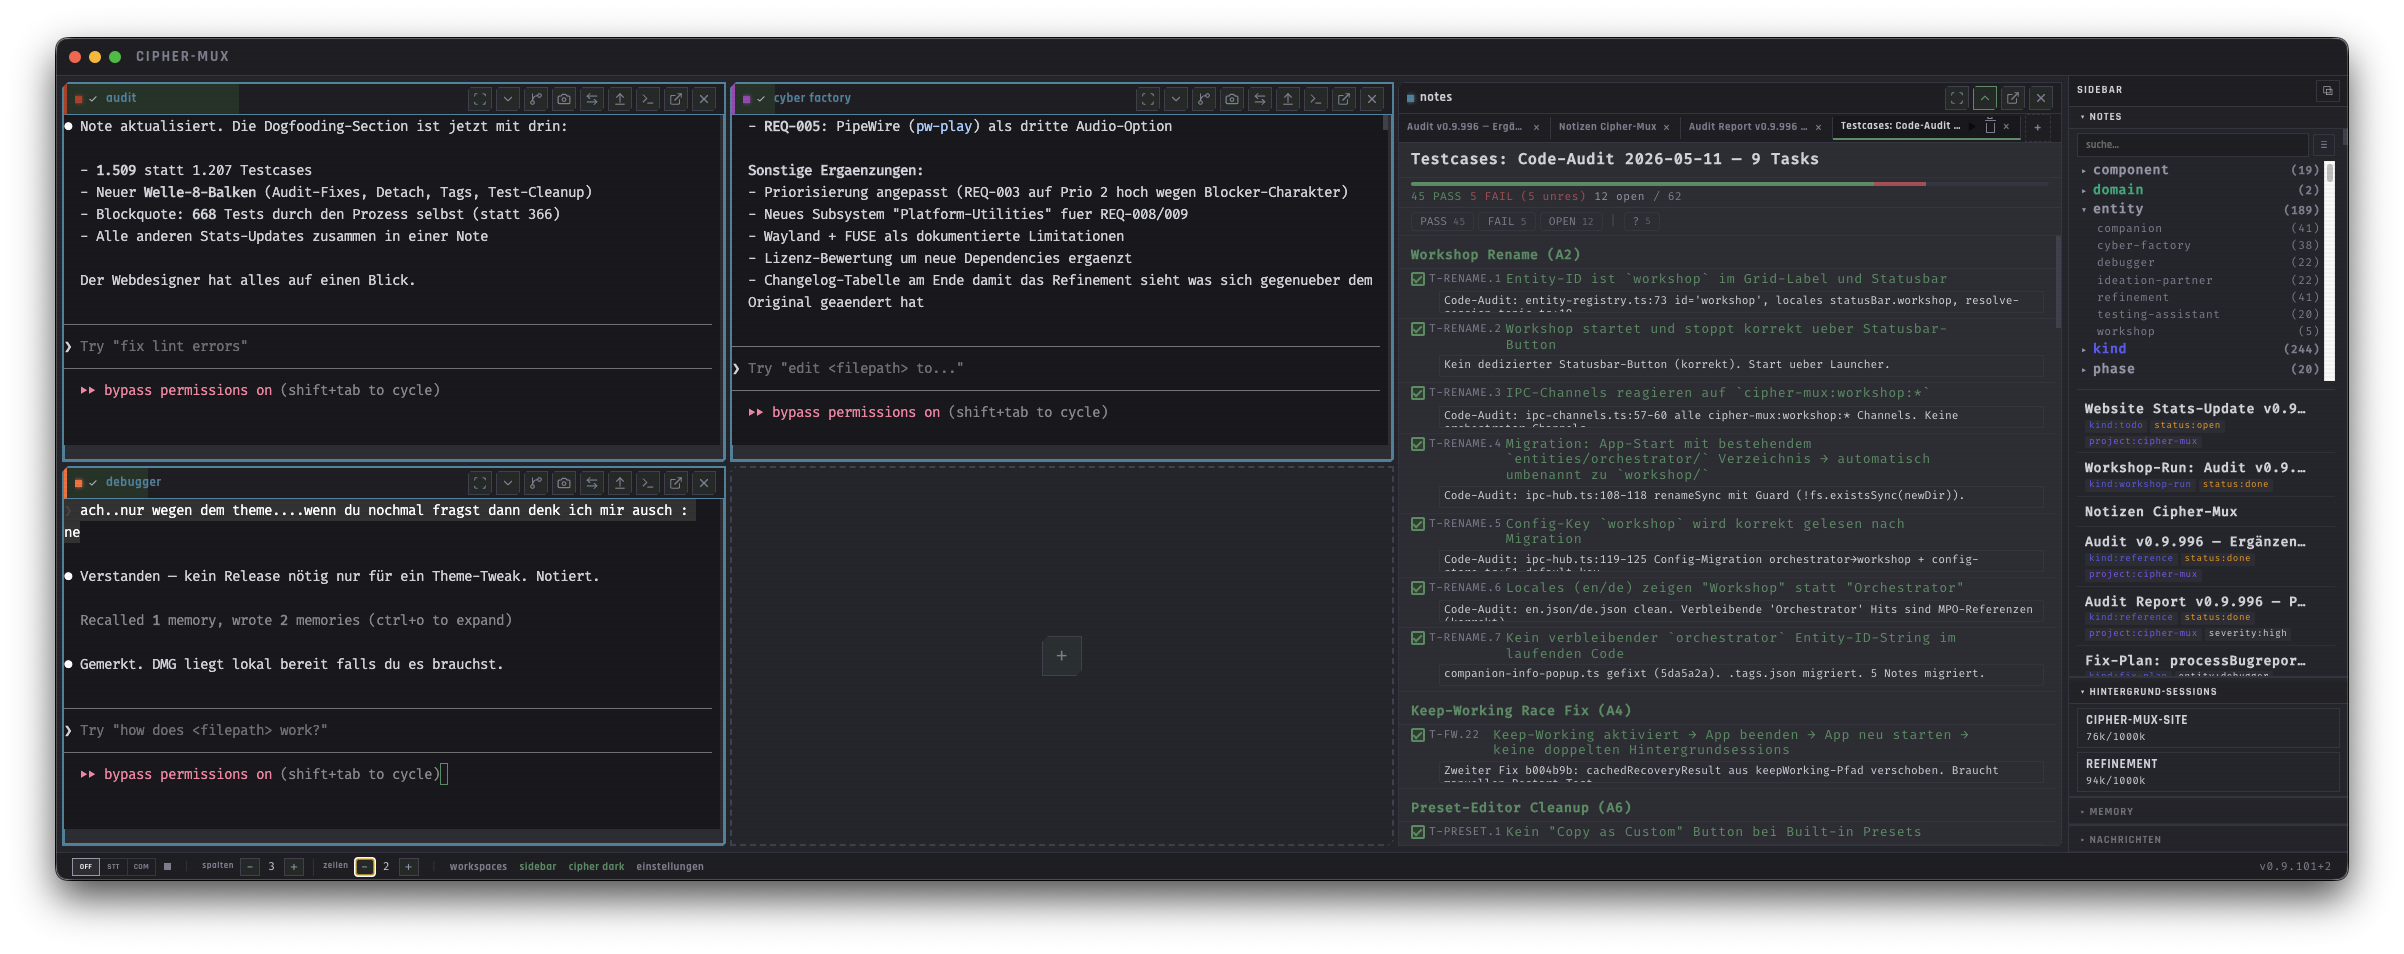
The central area of the app. Sessions live in cells. Empty cells show a + and open the launcher popup when clicked.
The grid is the large area in the middle of the window. Each cell holds either a running session, a notes editor, or nothing at all. Empty cells show a + — clicking it opens the launcher popup.
Drag & Drop
- ›Drag a header: Dragging a session header onto another header swaps the positions of the two sessions.
- ›Sidebar session onto the grid: Dragging a background session from the sidebar onto a cell pulls it into the grid.
- ›Notes onto the grid: Dragging a note from the sidebar onto an empty cell opens it in the editor. Dragging it onto an occupied cell sends the note content into the session as text.
- ›Files from Finder: Dragging a file onto a cell inserts the path as a shell-escaped string — without Enter. You can check the path before you submit it.
Grid Size
- ›columns +/- and rows +/- in the status bar
- ›Minimum 1×1 (one cell), maximum 7×3 (21 cells)
- ›There is no keyboard shortcut for the grid size — the buttons in the status bar are the only way. Cmd+Shift+W/A/S/D moves the focus, it does not resize.
- ›The window resizes itself automatically
Typical Layouts
Session Cell Header
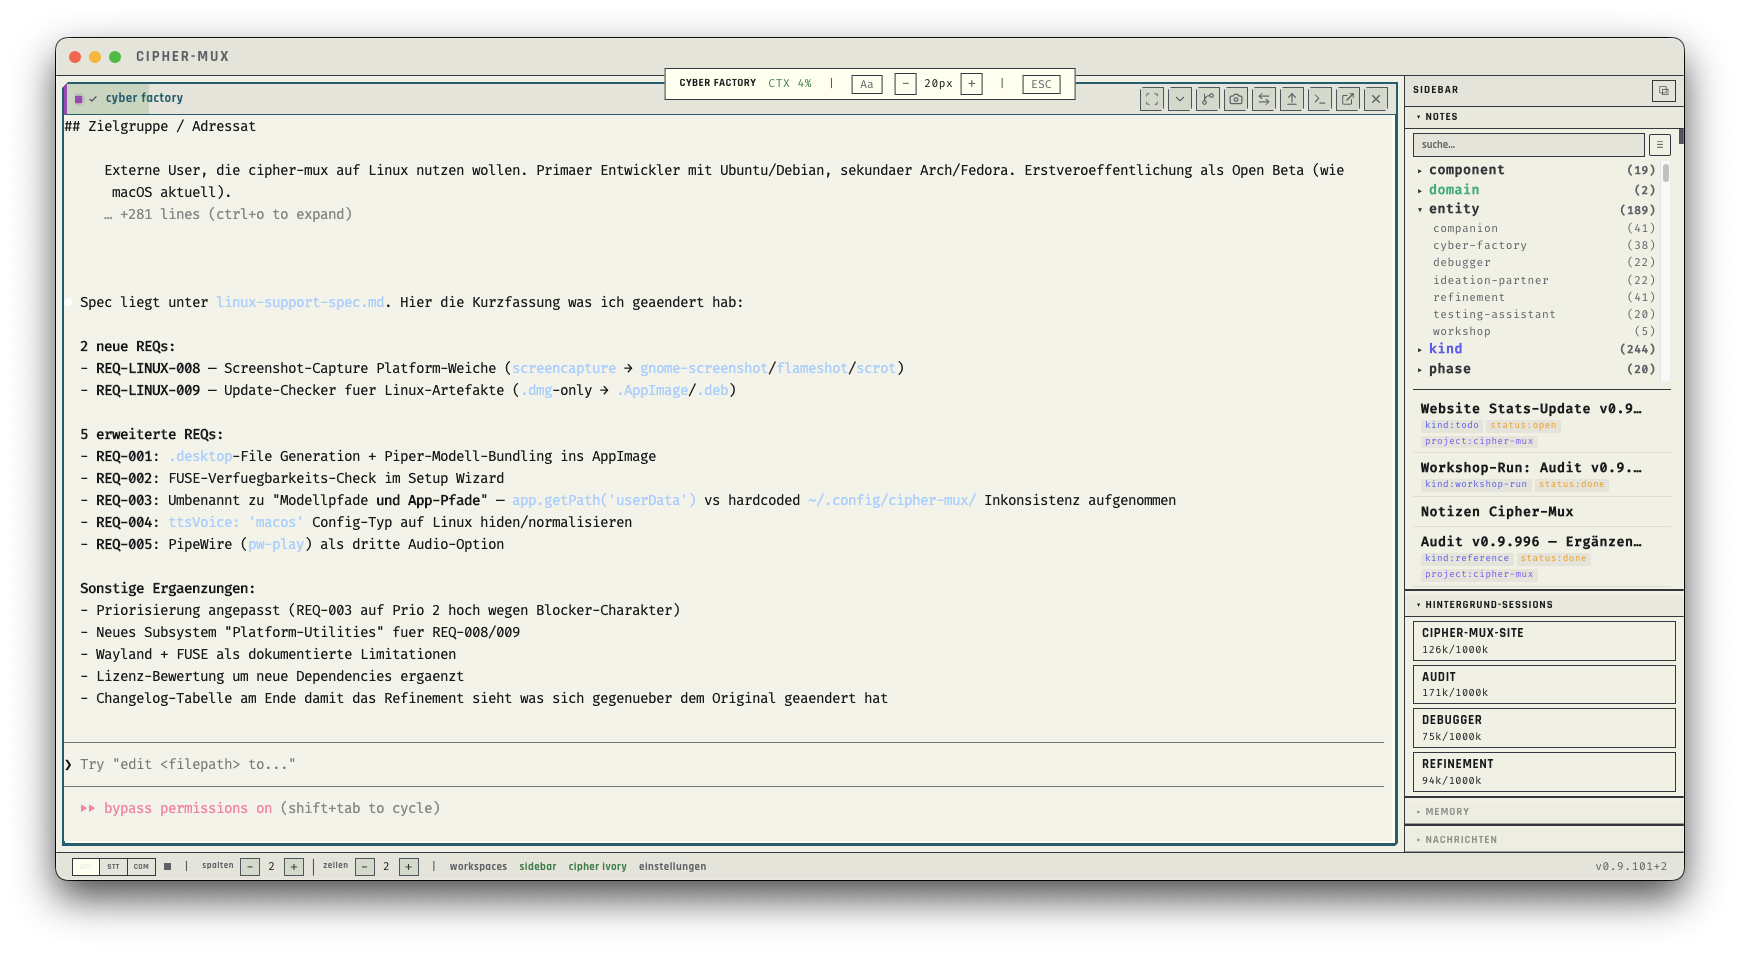
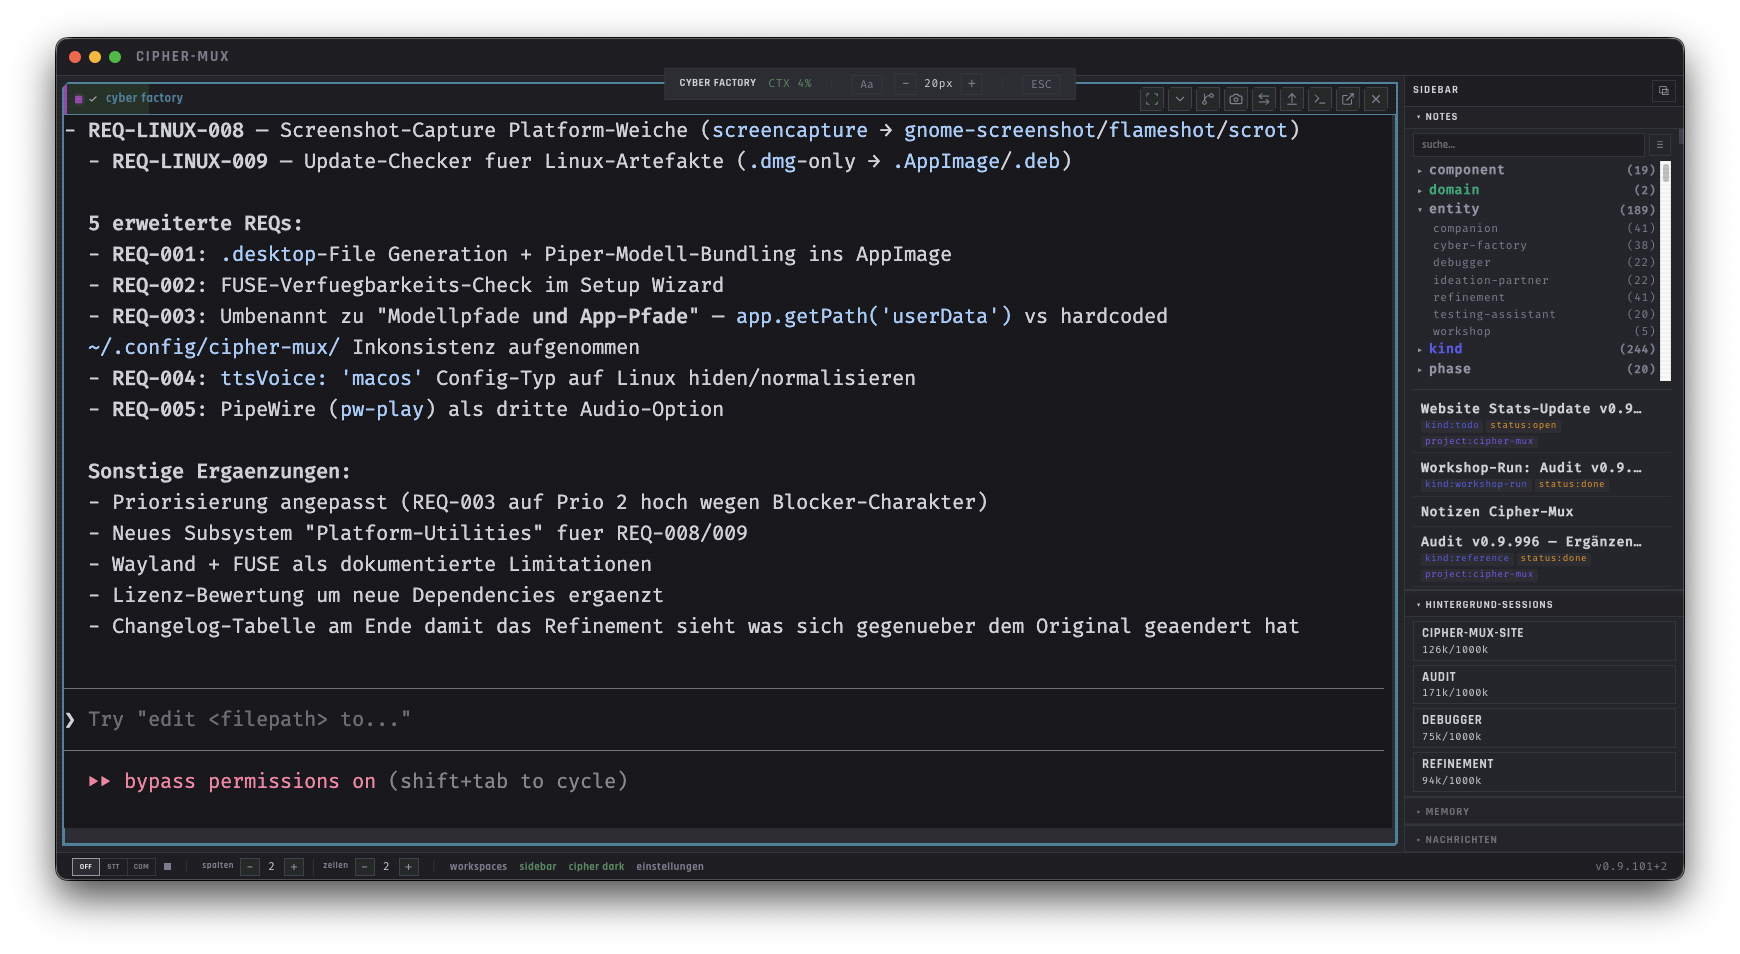
Every occupied cell has a header with status information on the left and action buttons on the right. The header color signals the entity and the context usage.
Left Side
- ›Neon dot: Shows the entity color. It switches at certain context thresholds: green (<26%), yellow (26–40%), orange (41–55%), red (>56%).
- ›Status icon: Check mark = active, spinner = stopping, X = error, pause = paused.
- ›Session name: Clickable to focus. The tooltip shows the topic of the session.
- ›Voice dot: Only visible when this session is the active voice target.
- ›Voice pin button: Pins voice input permanently to this session.
Context Bar
Right Side — Buttons
Entity Colors
Focus Mode & Pop-Out
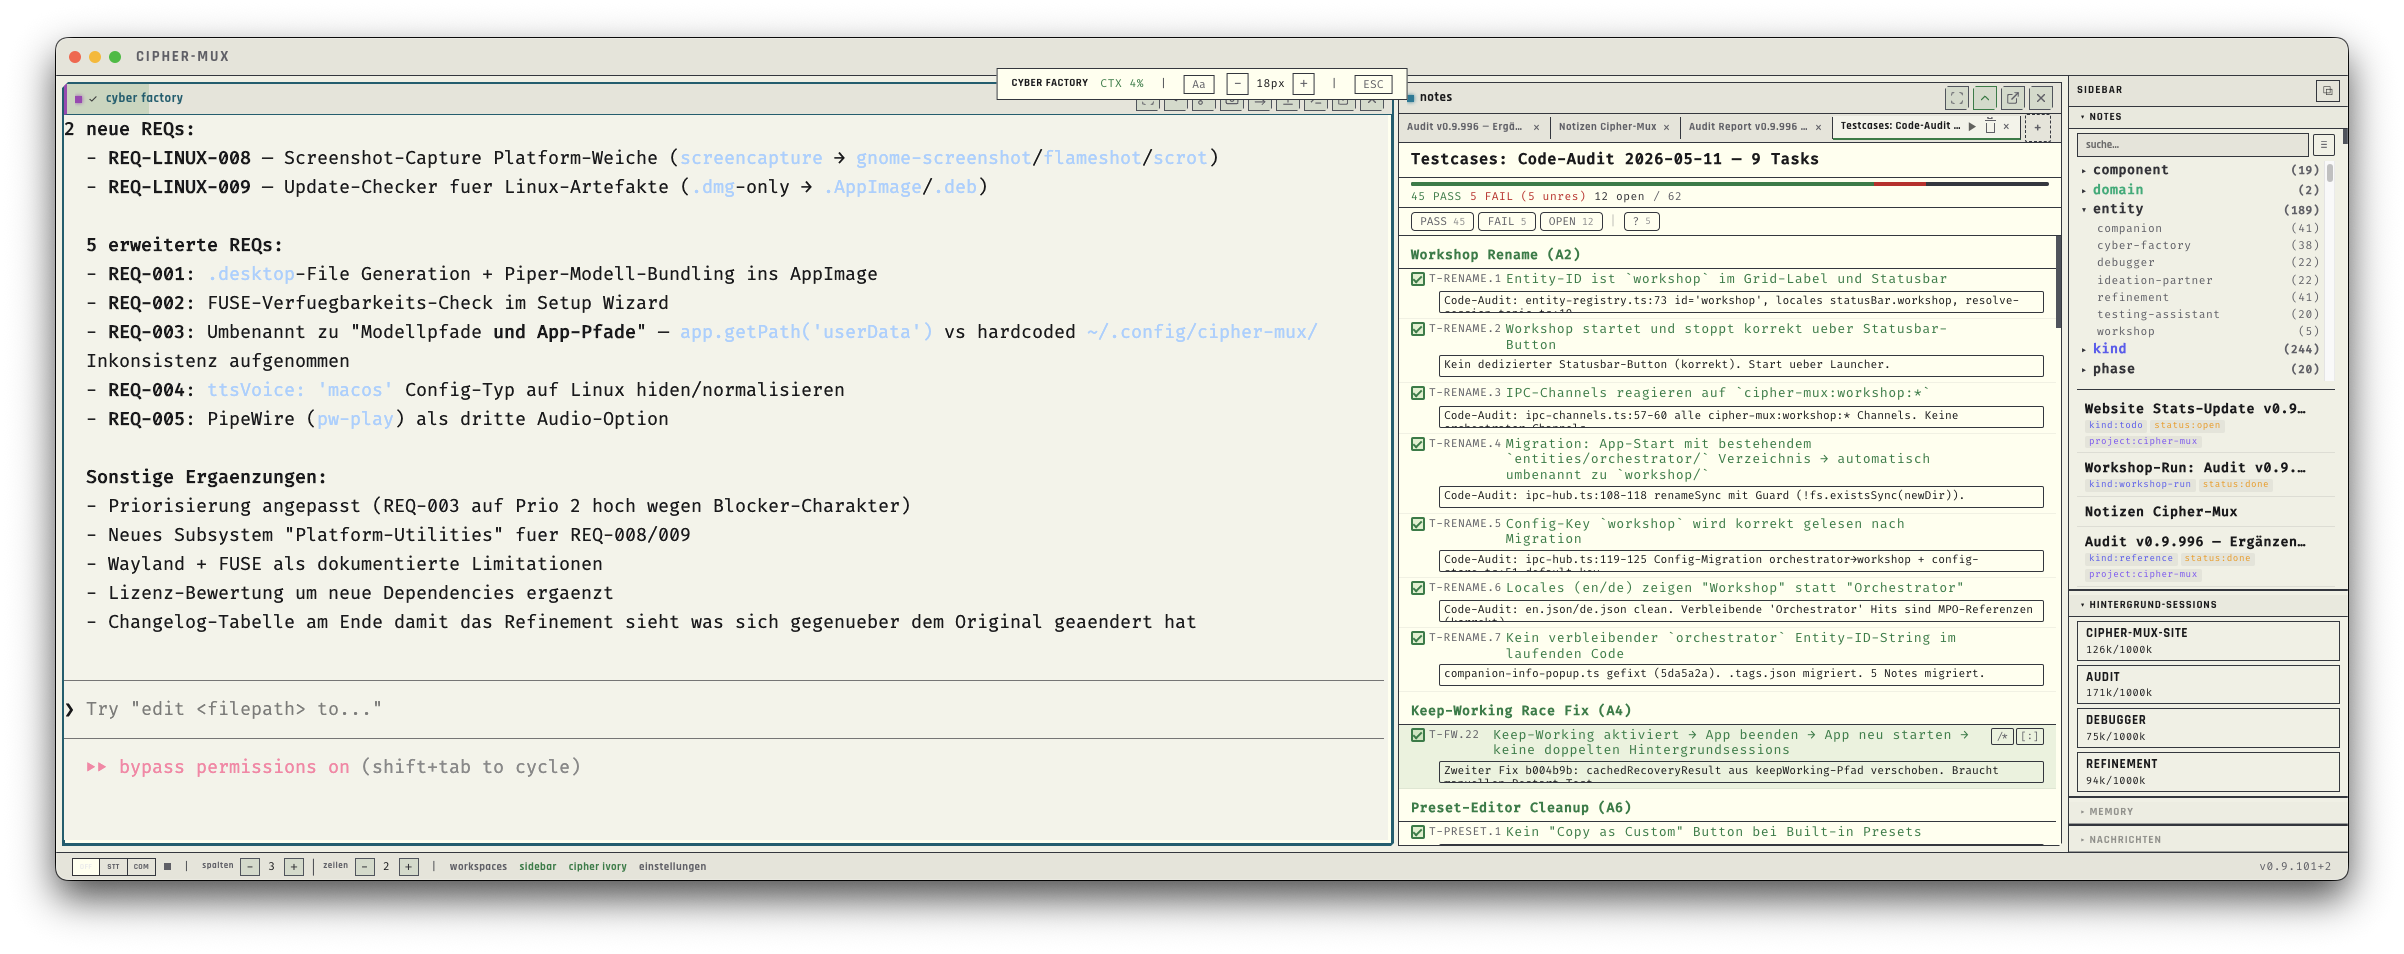
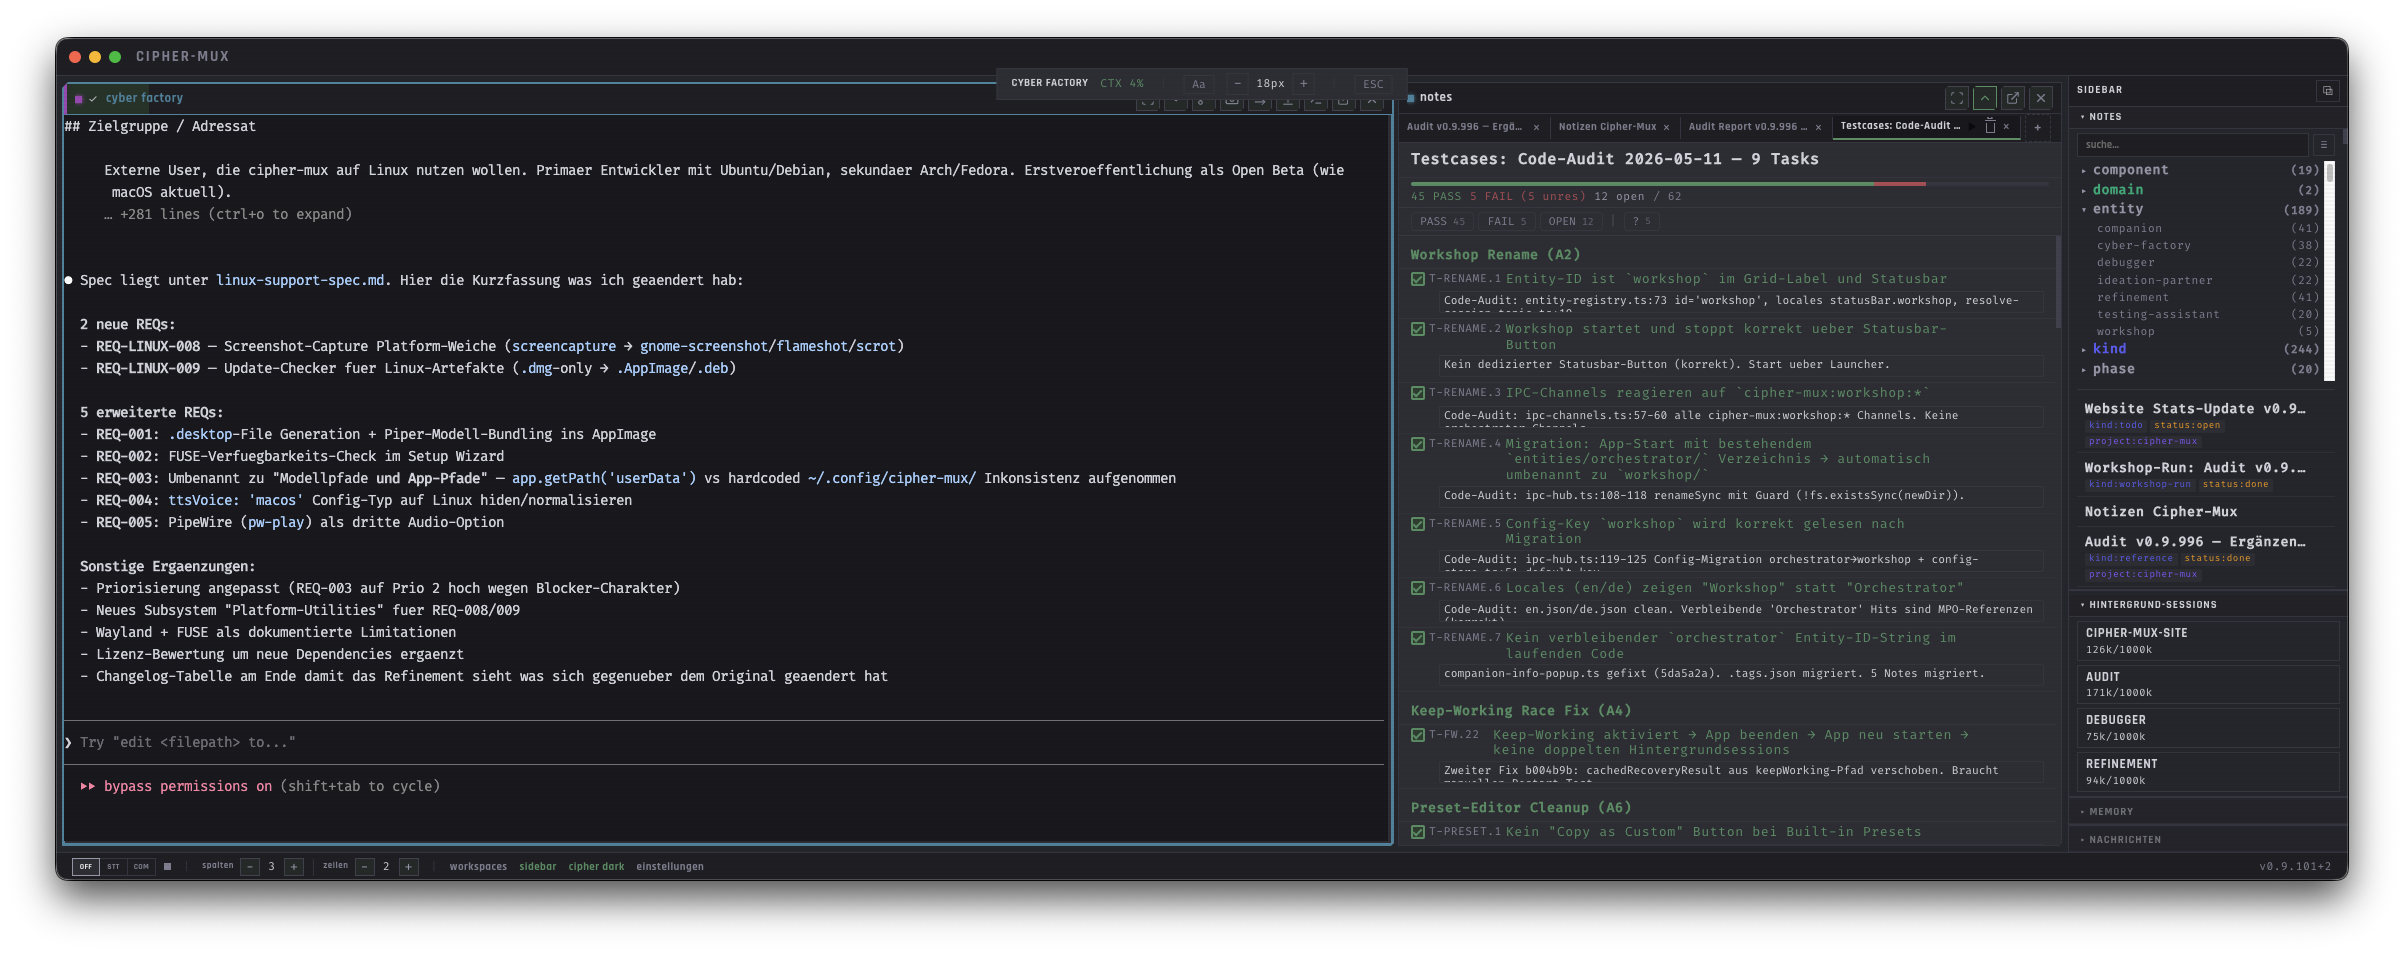
Two ways to give a session more room: Focus Mode blows it up inside the grid, Pop-Out detaches it into its own window.
Focus Mode
- ›Activate: the Scan icon in the header or Cmd+Shift+F.
- ›The session expands to 2×2 cells inside the grid.
- ›The Focus Bar appears at the top, carrying: session name, context percentage (CTX XX%), font size slider (8–36px), ESC button.
- ›Exit: the ESC key, the ESC button in the bar, or the Scan icon again.
Pop-Out
- ›Activate: the ExternalLink icon in the header.
- ›The session opens as a standalone window.
- ›At the top: a 28px drag region for moving it plus a Dock button to bring it back into the grid.
The Sidebar
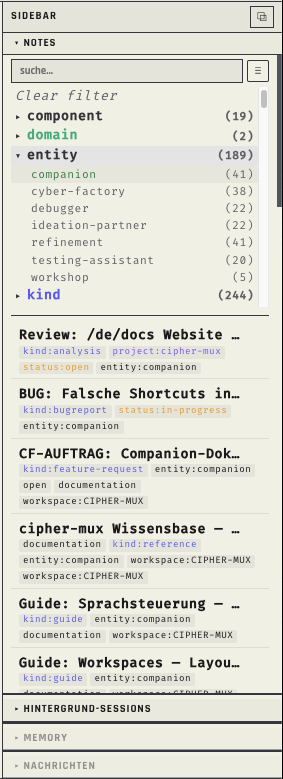
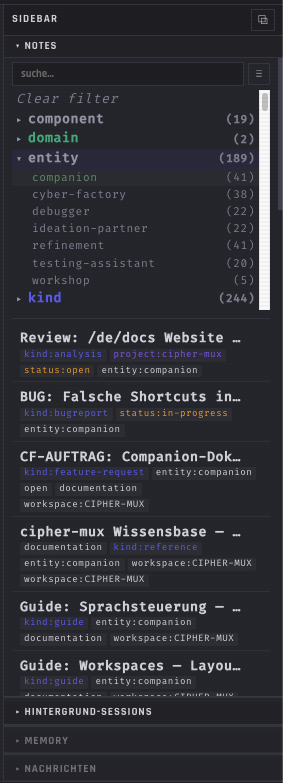
The sidebar opens via the "sidebar" button in the status bar. Five sections, all collapsible. The state is remembered.
Voice Control
Local speech recognition — no network, no cloud. Switch it on with the voice pill in the status bar; Ctrl+Shift+Space is push-to-talk and only works once voice is running. The fixed commands below are German, and transcription defaults to German — dictation itself follows whatever Whisper hears. An English command vocabulary does not exist yet.
LED Status
Three Modes
Voice Commands · Text
Voice Commands · Scrolling
Voice Commands · Grid Navigation
Variants such as grit, zelle, focus are recognized as well.
COM Mode · Voice Relay
The Voice Relay is not a proxy session — it is a full session with its own persona, tuned for spoken conversation. It answers in short, flowing sentences without Markdown formatting. TTS is its primary output channel.
In COM mode your speech is transcribed, sent to the Voice Relay, and its answer is read out via TTS. Barge-in: you can interrupt the TTS output by simply starting to speak.
Voice Pin
In STT mode: the pin button (◉) in the session header pins voice input permanently to one session. Your voice then always goes there, no matter which cell currently has focus. Click again to release the pin — after that the voice follows the grid focus again.
TTS Configuration
- ›Engine: Piper (local, fast, offline) or macOS System TTS.
- ›Verbosity: Minimal (key statements only) or everything relevant.
- ›Voices: Installed voices are visible in the settings dialog. Voice Catalog for downloading further voices.
Bluetooth Remote
- ›Auto mode: Button press = speech is transcribed and inserted immediately.
- ›Manual mode: Button press = start/stop recording, submit explicitly.


Notes
Markdown editor (CodeMirror 6) in grid cells. Create, edit, tag, share — notes are the visible memory of cipher-mux.
Creating
- ›Via the launcher popup → "notes" tab → "New Note"
- ›Via the + button in the sidebar Notes section
- ›Programmatically via MCP tools (mux_notes_create)
Editor
- ›CodeMirror 6 with Markdown syntax highlighting (H1–H4 in the accent color).
- ›Automatic line wrapping.
- ›Cmd+F to search inside the editor.
Saving and Tags
- ›Cmd+S: Saves and suggests tags automatically (local AI model, max. 5 tags per note).
- ›Auto-save: After 2 seconds of inactivity — without tag suggestions.
- ›Tag format: class:value — e.g. workspace:CIPHER-MUX, kind:bugreport, status:open.
- ›Exclusive classes: status and kind allow only one value per note.
- ›Tag autocomplete: Existing tags are suggested as you type.
Voice Input
When the notes editor has focus and STT is active, transcribed text is inserted at the cursor position.
Workspace Scoping
Inside the active workspace, the notes view filters automatically to notes carrying the tag workspace:<name>.
Handoff Notes
Special notes for knowledge transfer between sessions. They are created automatically by the entity sessions — for example when Testing hands its findings over to the Workshop. The frontmatter holds three fields: from_session (who wrote it), to_entity (which entity it is for), handoff_status (pending or consumed). You do not have to create these notes by hand — the entities do it through their handoff tools.
Testcase Notes
Notes with noteType: testcase are rendered in the Testcase View. Format: checkbox + bold ID (- [ ] T-PREFIX.N description).
Note vs. Memory — which one when?
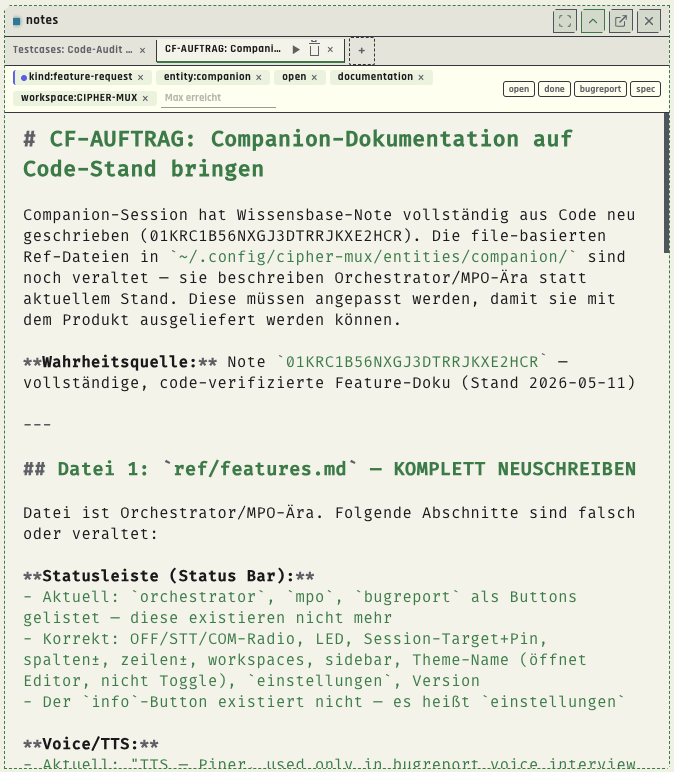
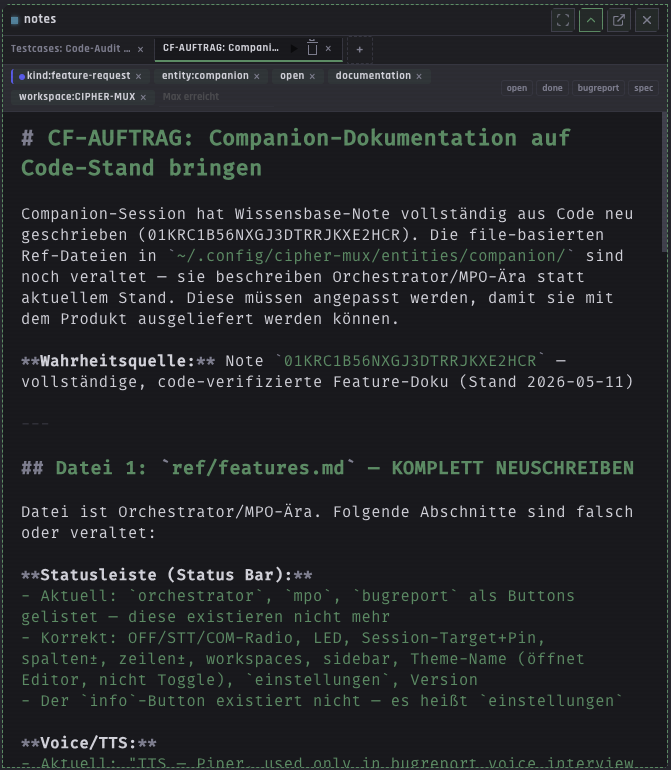 Notes Editor
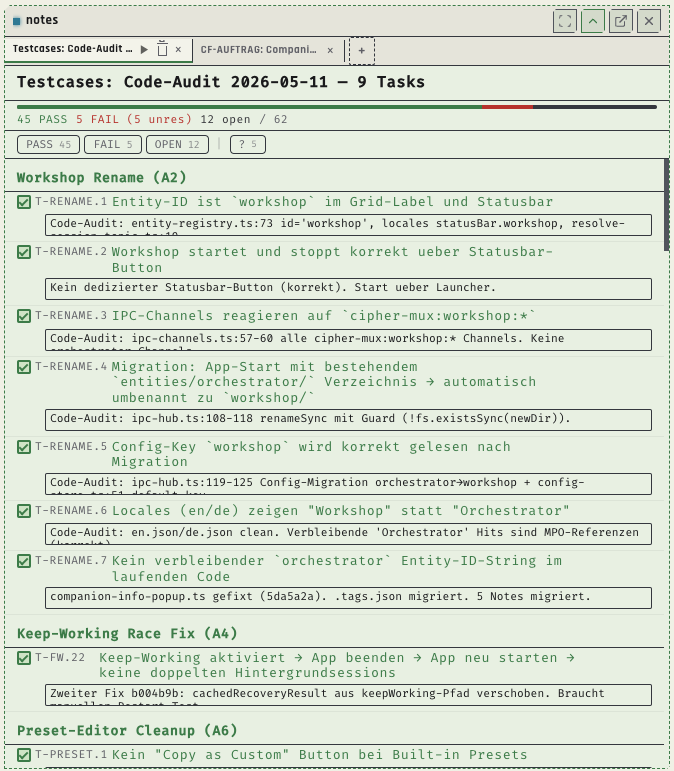
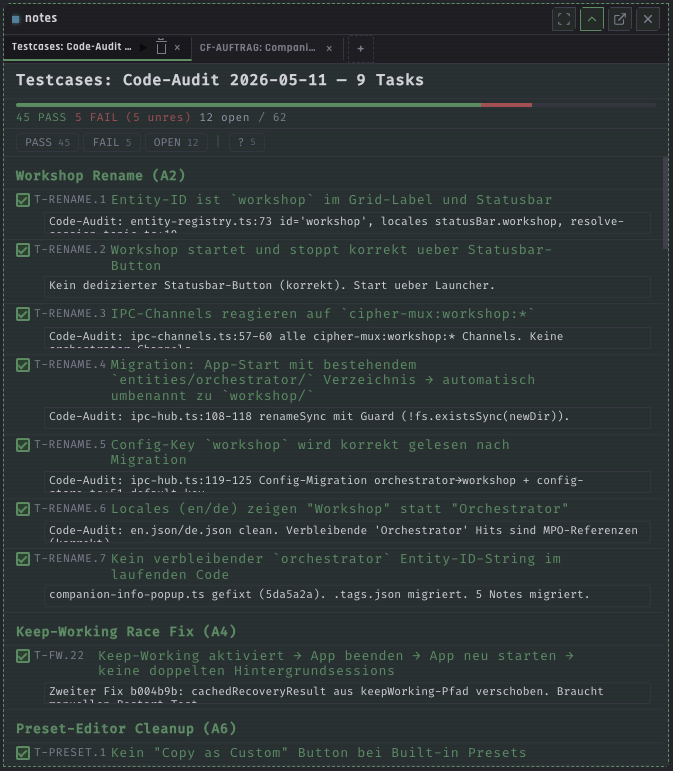 Testcase View
Projects and Hub
One project = one workspace = home for all assets. Create a workspace, point it at a project folder — from then on every session in the workspace knows what is being worked on.
Standard Folder Structure
project-name/
  .claude/              Claude Code config
  .cyber-factory/       run configuration
  docs/specs/           detail specs with REQ IDs
  docs/decisions/       ADRs (architecture decisions)
  docs/research/        research from the Ideation Partner
  docs/audit/           audit reports
  src/                  source code
  tests/                tests
  .project-meta.json    phase, workspace, tags, purpose
Bringing existing projects in — three modes
Settings
Reachable via "info" in the status bar. Seven tabs: General, Language, Themes, Shortcuts, Remote, A11y, About.
Tab: General
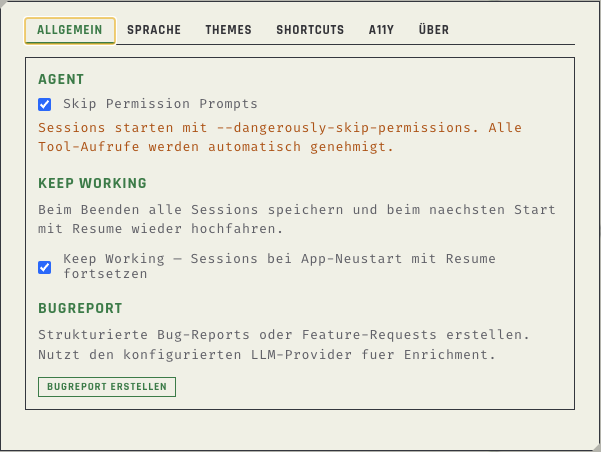
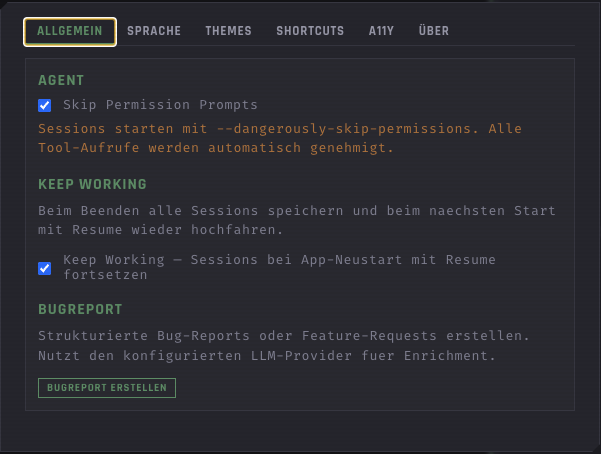 General
Tab: Language
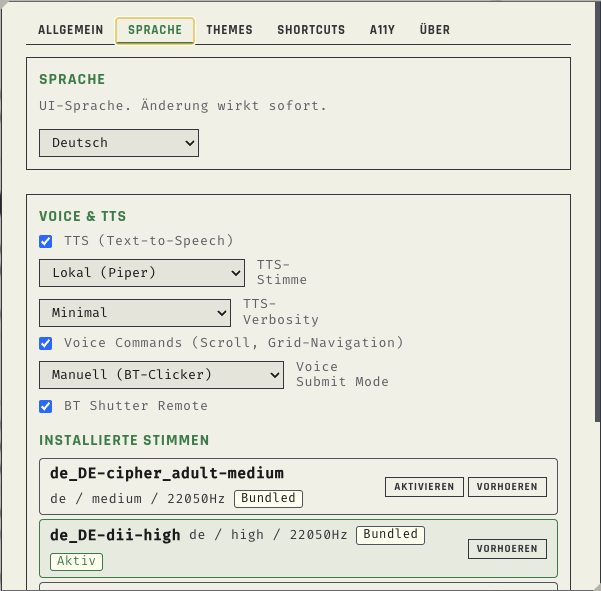
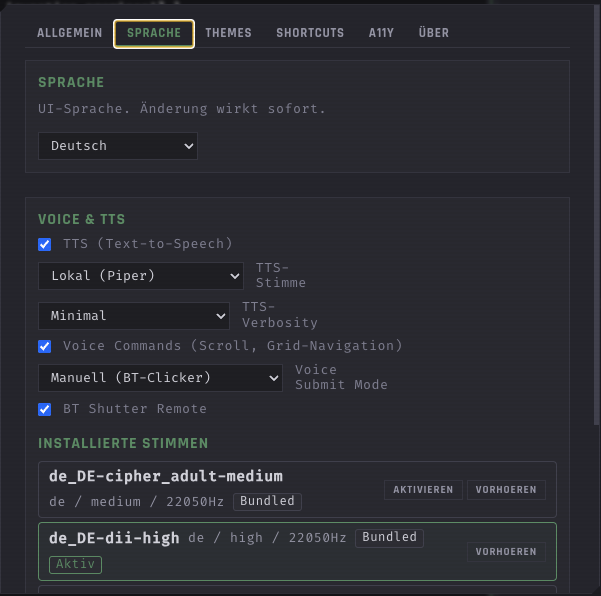 Language
Tab: Themes
13 built-in themes in four categories:
Cipher Defaults
Coder Classics
Style
Accessibility
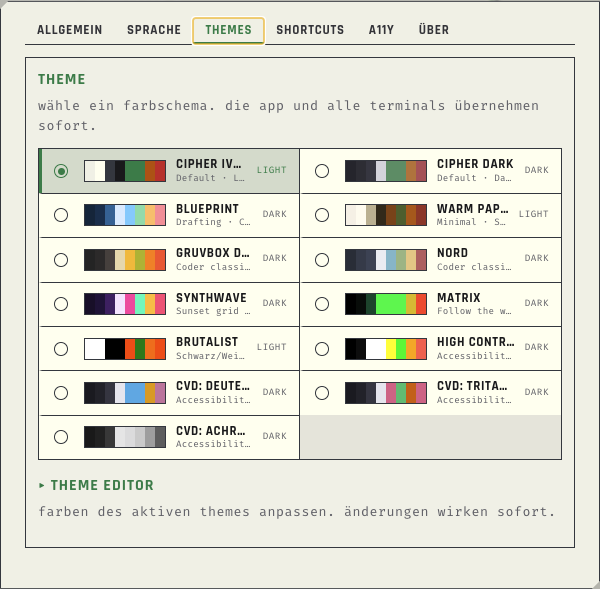
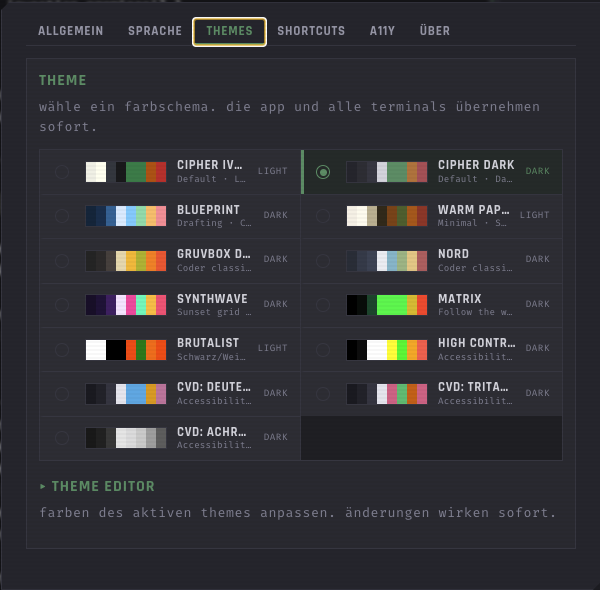 Themes
Theme Editor
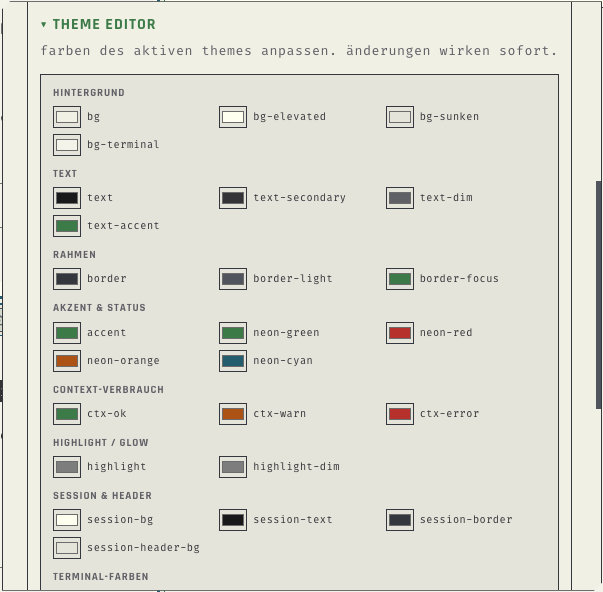
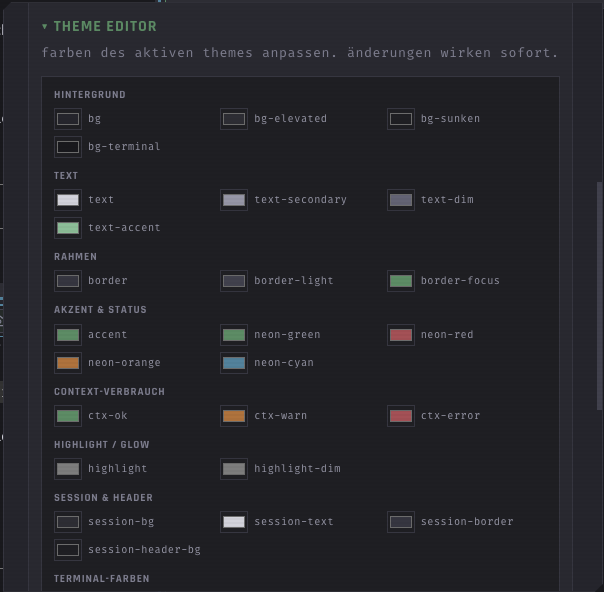 Theme Editor
Tab: Shortcuts
All keyboard shortcuts grouped by category. Full table in §10.
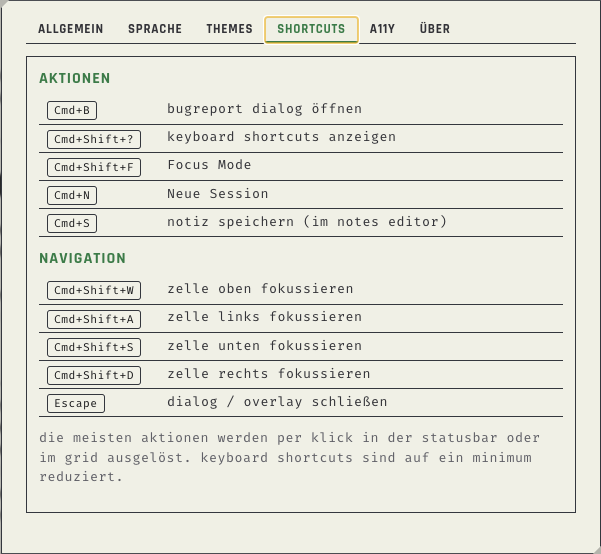
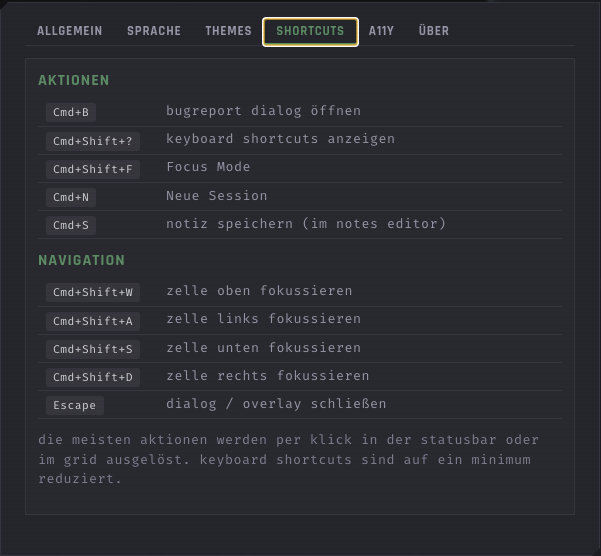 Shortcuts
Tab: Remote
Bluetooth remotes: detected profiles, connection state per device, and one action per button — a registered shortcut, passthrough, or disabled. A device without a profile passes its keystrokes through unchanged. The tab has been permanently visible since v0.9.104; before that a stale config gate kept it hidden.
Tab: A11y (Accessibility)
Select CVD themes, adjust accessibility settings.
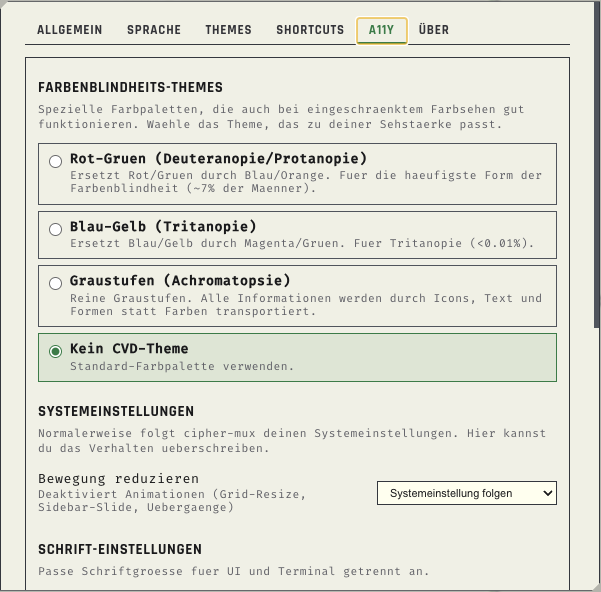
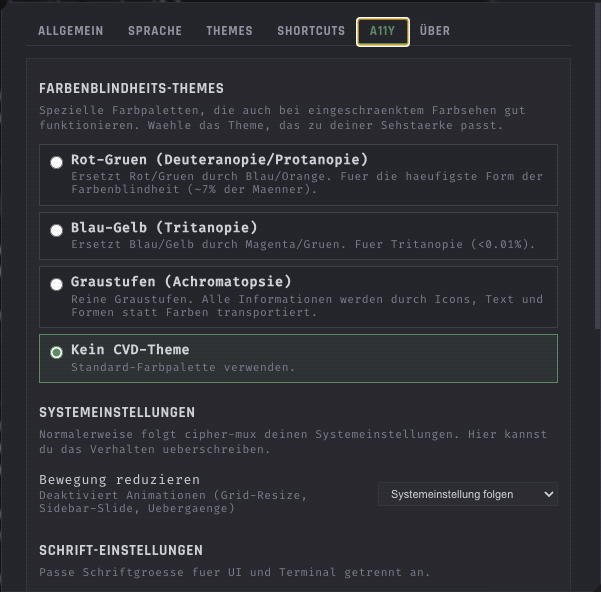 A11y
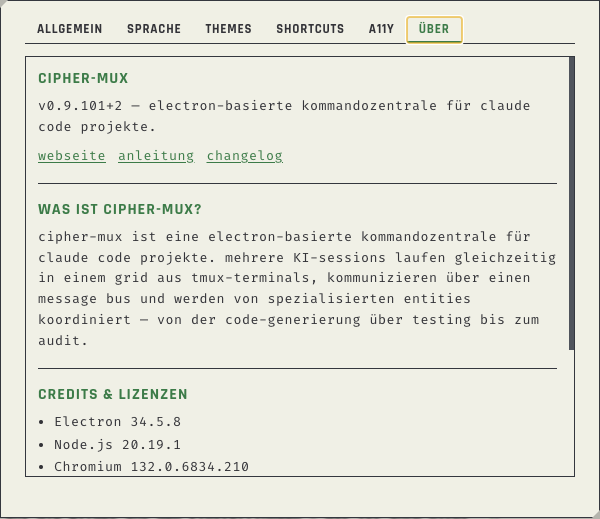
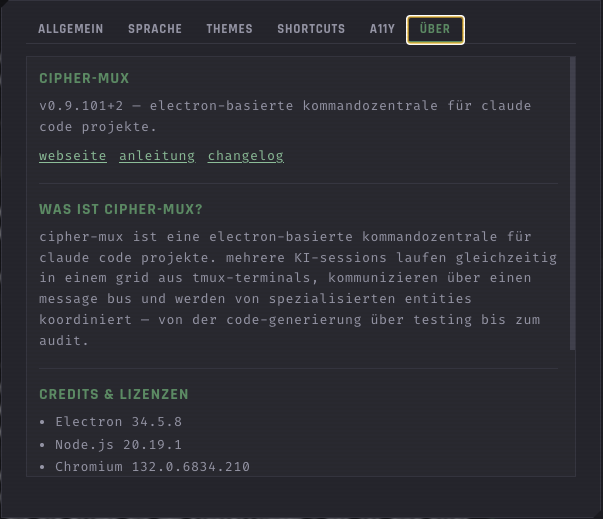
Tab: About
Version, links, credits. Feature overview with explanations of the grid system, orchestration, Message Bus, MCP server, context monitoring.
 About
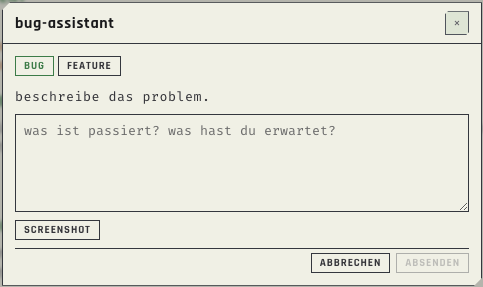
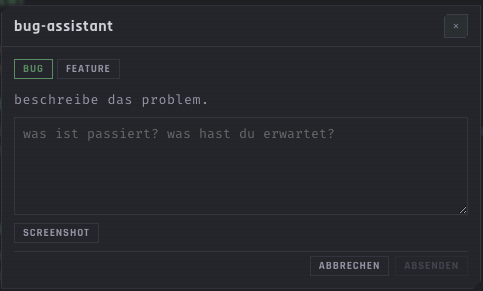
Bugreport Dialog
The bugreport dialog is reachable from anywhere — via Cmd+B or through Settings → General.
Flow
GitHub Delivery
- ›Optional: deliver the report as a GitHub issue.
- ›The browser opens a prefilled GitHub issue.
- ›If the gh CLI is installed and authenticated: the issue is created directly, without a browser.
- ›The issue URL is written back into the local note.
Keyboard Shortcuts
Complete reference for all shortcuts. Grouped by category.
Navigation
Layout
Actions
Terminal
Got it? Then go.
You know every function now. All that is missing is the app itself.